Table of Contents
What Is MetForm and Why Should You Use It
MetForm is a drag-and-drop contact form builder that works as an addon for Elementor. Unlike generic form plugins that drop a plain HTML form onto your page, MetForm builds each field as a native Elementor widget. That means you can drag and drop fields exactly where you want them, style them to match your brand colours, and control responsiveness right from the Elementor panel — no custom CSS required.
The plugin is made by WPMet, a company that has been building WordPress tools since 2018. MetForm is trusted by over 600,000 users worldwide and holds strong ratings in the WordPress plugin repository. The free version alone is enough to build professional contact forms, feedback forms, and even simple booking enquiry forms for most small business websites.
How to Install MetForm in WordPress
Installing MetForm takes about two minutes. Here is the step-by-step process:
- Log in to your WordPress dashboard.
- Go to Plugins and click Add New.
- Type MetForm in the search box.
- Find the MetForm plugin in the results and click Install Now.
- Once installed, click Activate.
That is it. Once MetForm is activated, a new MetForm menu will appear in your WordPress dashboard. You will also see MetForm widgets appear inside the Elementor editor the next time you open a page.
Important: You only need the free version of Elementor installed. MetForm does not require Elementor Pro to work. This is one of the biggest reasons I recommend it for budget-conscious local business clients.
How to Create Your First Contact Form with MetForm
Once MetForm is installed, creating a contact form is straightforward. Follow these steps:
- In your WordPress dashboard, go to MetForm and click Forms.
- Click the Add New Form button in the top left corner.
- Give your form a name, such as Contact Form.
- Choose a form type. For a standard contact page, select Contact Form.
- Select a pre-built template or start with a blank template.
- The Elementor editor will open and you will see all the MetForm form field widgets in the left panel.
- Drag and drop the fields you need — Name, Email, Phone, Message — onto the canvas.
- Style each field using the Elementor Style tab to match your site colours and fonts.
- Click the Submit button widget and customise the label and colour.
- Go to the form Settings to set where submission emails are sent.
- Save and publish the form.
Once saved, MetForm generates a shortcode for your form. You can paste this shortcode into any page or post, or use the MetForm widget inside Elementor to place it directly on a page.
Key Features of MetForm Free
Here is a breakdown of what you get in the free version of MetForm:
- Drag and drop form building inside Elementor — every field is a native Elementor widget
- 40+ pre-built form templates ready to import in one click
- Essential input fields: text, email, phone number, textarea, select, checkbox, radio buttons, and more
- Email notifications to the site admin after each form submission
- Confirmation email sent automatically to the person who submits the form
- Customisable success message after form submission
- Option to hide the form after it has been submitted
- Redirect to a thank-you page after successful submission
- Google reCAPTCHA integration to block spam
- Shortcode support to place forms anywhere on the site
- Fully responsive — forms look great on mobile, tablet, and desktop
- GDPR-compliant consent checkbox support
- Google Sheets integration to collect submissions in a spreadsheet
- Translation-ready for multilingual sites
For a typical small business website, these features cover everything you need. A simple name, email, phone, and message form is all most local clients actually use.
MetForm Free vs MetForm Pro: What Is the Difference
The free version handles the basics very well. But if your client needs more advanced functionality, MetForm Pro unlocks a powerful set of additional features. Here is how the two compare:
Free version includes:
- Basic contact, feedback, and referral forms
- Essential input field types
- Email notifications
- Google Sheets and reCAPTCHA
- Pre-built templates
- Shortcode support
Pro version adds:
- Conditional logic — show or hide fields based on user selections
- Multi-step forms — break long forms into smaller steps to reduce abandonment
- Advanced field types including file upload, signature, and calculation fields
- Payment integrations with PayPal and Stripe
- CRM integrations including HubSpot, Zoho, and FluentCRM
- MailChimp and email marketing integrations
- Form scheduling — set start and end dates for forms automatically
- Convert form submissions into WordPress posts
For most salons, clinics, and coaching websites, the free version is genuinely enough. When I build sites for clients who need booking requests with pricing calculations or multi-step intake forms, that is when I recommend upgrading to Pro.
How to Add Your MetForm to an Elementor Page
Once your form is created and saved inside the MetForm dashboard, placing it on a page is easy. There are two ways to do it:
Method 1 — Using the MetForm Widget in Elementor:
- Open your Contact page in Elementor.
- In the widget panel on the left, search for MetForm.
- Drag the MetForm widget onto the canvas.
- In the widget settings, use the dropdown to select the form you created.
- The form will appear live on the page. Style the surrounding section to match your layout.
- Click Update to save.
Method 2 — Using a Shortcode:
- Go to MetForm and open your form.
- Copy the shortcode shown for that form.
- Paste the shortcode into any page using a Shortcode widget in Elementor or directly into a WordPress page block.
Method 1 is what I always use with Elementor because it gives you full visual control over the layout.
Tips for Getting the Most Out of MetForm on a Local Business Site
Here are a few practical tips I have picked up from setting this up on hundreds of local business websites:
- Keep the form short. For salons, clinics, and restaurants, I typically use just four fields: Name, Email, Phone, and Message. Shorter forms get more submissions.
- Always set up the admin email notification first. Go to MetForm Settings and enter the email address where you want to receive enquiries. Double-check this before launch.
- Turn on the Google reCAPTCHA to protect against spam. Even small local business sites attract bots.
- Use the redirect after submission feature to send visitors to a thank-you page. This also lets you track form conversions in Google Analytics.
- Style the form to match the rest of the site. Because MetForm is built inside Elementor, you can control font size, field border colour, button colour, and padding directly from the Style tab — no extra CSS needed.
- Test the form before you hand the site to the client. Submit a test entry and make sure the notification email arrives in the inbox, not the spam folder.
Frequently Asked Questions
Is MetForm really free?
Yes, MetForm has a fully functional free version available on the WordPress plugin repository. The free version includes essential form fields, email notifications, Google reCAPTCHA, Google Sheets integration, and pre-built templates. You do not need to pay anything to build a working contact form for a small business website.
Do I need Elementor Pro to use MetForm?
No, MetForm works with the free version of Elementor. You do not need Elementor Pro. This makes MetForm one of the best free alternatives to the Elementor Pro form widget for users who do not want to pay for the Pro version.
Does MetForm slow down my website?
MetForm is designed to be lightweight and speed-optimised. In practice, it adds minimal overhead to page load times. For local business sites where speed matters, this is a strong advantage over heavier form plugins.
Can I use MetForm on client websites?
Yes, you can use MetForm on client websites freely. There are no restrictions on using the free version across multiple client sites. The Pro version can also be used on client sites depending on the licence tier you purchase.
How do I receive contact form submissions by email?
In the MetForm form settings, you can enter the admin notification email address where all form submissions will be sent. MetForm also sends an automatic confirmation email to the person who fills out the form, so both sides receive a notification.
What is the difference between MetForm Free and MetForm Pro?
The free version covers the basics: contact forms, email notifications, reCAPTCHA, and templates. MetForm Pro adds conditional logic, multi-step forms, payment integrations, advanced CRM integrations, and form scheduling. For most simple small business websites, the free version is sufficient.
Can I style my MetForm contact form to match my website design?
Yes, because MetForm is built inside Elementor, you can control all styling — colours, fonts, borders, button styles, and field spacing — directly from the Elementor Style tab. No custom CSS or coding is required.
Final Thoughts
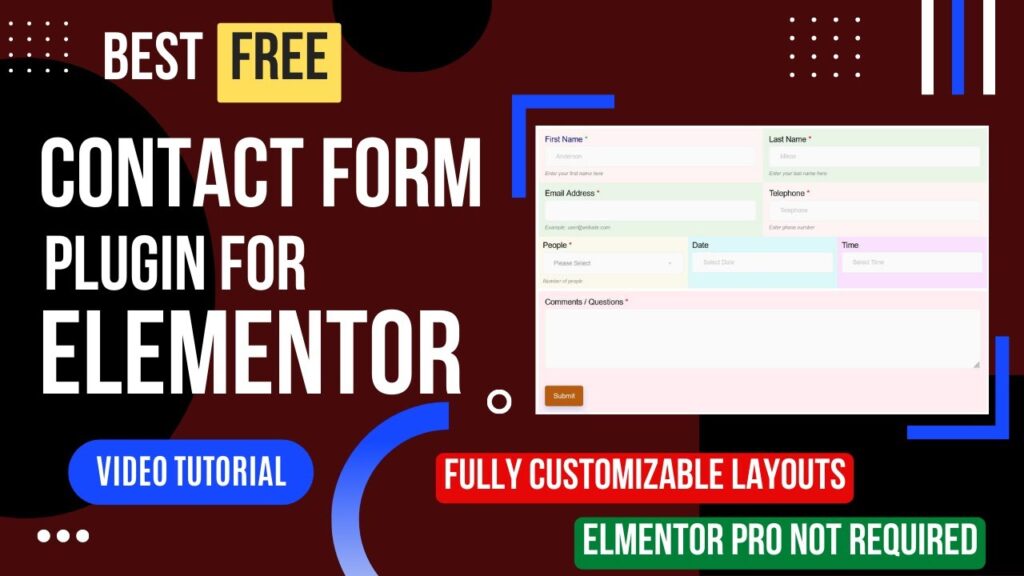
Thanks so much for reading all the way through. If you are an Elementor user who wants a solid, good-looking contact form without paying for Elementor Pro, MetForm is honestly the best free option I have found — and I have tried quite a few over the years across 1800+ websites. The free version covers everything a local business site needs: clean fields, email notifications, spam protection, and full Elementor styling control. I have put together a full video tutorial walking through the entire setup from installation to styling — you can watch it below. If you have any questions, drop them in the comments and I will do my best to help. And if you would like me to set this up for your website, feel free to get in touch.
I hope that this article on How to use MetForm – Free Contact Form Plugin for Elementor will help you. Read more articles on Elementor Tutorials.
Do not forget to subscribe to our Quick Tips Youtube Channel for upcoming videos on Website Design, WordPress Tutorials, Elementor, and WooCommerce tutorials.