💬 Prashant’s Note
When I set this up for a restaurant client in Melbourne, the thing that confused her most was not knowing where the Yoast panel was hiding inside Elementor — she kept looking for it in the WordPress backend like she used to. Once I showed her it lives inside the Elementor left sidebar, it clicked immediately. The way I explain it to all my clients is simple: think of the Yoast panel as your SEO checklist that sits right next to your design — you tweak your content and your SEO score at the same time, without ever leaving the editor.
Table of Contents
What Is Yoast SEO and Why Use It with Elementor?
Yoast SEO is a WordPress plugin that helps you optimize every page and post on your site for search engines. It gives you real-time feedback on things like keyword usage, meta descriptions, readability, internal linking, and page structure — all without needing to be an SEO expert. Elementor is the drag-and-drop page builder I recommend to almost every client I work with. It makes building clean, professional pages genuinely easy. But Elementor on its own does not handle SEO — that’s where Yoast comes in. The great thing is that Yoast SEO has a full native integration with Elementor. That means instead of switching back and forth between your Elementor editor and your WordPress backend, all the Yoast SEO tools show up directly inside the Elementor editor on the left panel. You can build your page and optimize it for search at the exact same time. This integration works with both the free and premium versions of Yoast SEO, so you don’t need to spend any money to get started.
Step 1: Install and Activate the Yoast SEO Plugin
If you don’t already have Yoast SEO installed, here’s how to get it set up: – Log in to your WordPress dashboard. – Go to Plugins > Add New. – In the search bar, type Yoast SEO. – Click Install Now on the Yoast SEO plugin (the one by Team Yoast). – Once installed, click Activate. After activation, you’ll notice a new SEO menu item appear in your WordPress left sidebar. That confirms everything is working. The free version is completely sufficient for most local business websites — you don’t need to buy anything to follow along with this tutorial.
Step 2: Configure Yoast SEO Basic Settings
Before you start optimizing individual pages, spend a few minutes on the initial Yoast SEO configuration. This sets up the global defaults for your site. – In your WordPress dashboard, click on SEO in the left menu. – Run through the Configuration Wizard if it’s your first time — it’ll ask you a few simple questions about your site type, your name or brand name, and which social profiles you have. – Under SEO > General, make sure your site name is set correctly. This is what Google shows as the site name in search results. – Under SEO > Search Appearance, you can set default title formats and control which post types and taxonomies get indexed by search engines. Don’t overthink this step. Set the basics and move on. You can always come back and fine-tune the settings later.
Step 3: Create or Open a Page in Elementor
Now that Yoast SEO is installed and configured, let’s jump into Elementor to see the integration in action. – Go to Pages > Add New (or Posts > Add New if you’re working on a blog post). – Give your page a title at the top — this becomes the default SEO title in Yoast, so make it descriptive and keyword-relevant. – Click the Edit with Elementor button to open the Elementor editor. – Build out your page content as you normally would — add your sections, text, images, buttons, and so on. One important note: Yoast SEO analyses the content you put into your Elementor widgets. So make sure you’re actually adding your text content into Text Editor or Heading widgets inside Elementor rather than leaving the page blank. The more real content Yoast has to analyse, the more useful its feedback will be.
Step 4: Access the Yoast SEO Panel Inside Elementor
This is the part that trips most people up — finding where Yoast lives inside the Elementor editor. There are actually two easy ways to get to it: – Method 1 — Hamburger Menu: Click the three horizontal lines (hamburger icon) in the top-left corner of the Elementor left panel. A menu will appear. Click on Yoast SEO from the list. – Method 2 — Settings Cog: Look at the very bottom-left of the Elementor editor for the gear/cog icon. Click it to open the Page Settings panel. You’ll see a Yoast SEO tab right there. Either method opens the full Yoast SEO sidebar within Elementor. You’ll see all the familiar Yoast tabs — SEO, Readability, Schema, and Social — right inside your editor. If you’re already familiar with Yoast in the regular WordPress block editor, you’ll feel right at home because it works exactly the same way, just moved to the left side of the screen.
Step 5: Set Your Focus Keyphrase
The focus keyphrase is the single most important thing to set in Yoast SEO. It tells Yoast what search term you want this page to rank for, and then Yoast analyses your content to see how well you’ve used that term. – Inside the Yoast SEO panel, click on the SEO tab. – Find the Focus keyphrase field and type in your target keyword or phrase. For example, if you’re optimising a page for a physiotherapy clinic in Sydney, you might type something like ‘physio clinic Sydney’ or ‘physiotherapist in Sydney’. – Once you enter the keyphrase, Yoast will immediately start giving you feedback — green bullets mean good, orange means needs work, and red means there’s a problem to fix. Keep your focus keyphrase specific and realistic. One well-targeted keyphrase per page is the right approach. Don’t try to stuff multiple unrelated keywords into a single page.
Step 6: Optimize Your Meta Title and Meta Description
Your meta title and meta description are what people see in Google search results before they click. Getting these right can make a real difference to your click-through rate. – Still inside the Yoast SEO panel, look for the Google Preview section (sometimes shown as an edit button under the snippet preview). – Click Edit snippet to open the meta title and meta description fields. – Meta Title: Keep it under 60 characters. Include your focus keyphrase near the beginning. For example: ‘Physiotherapy in Sydney | ABC Physio Clinic’. – Meta Description: Keep it under 155 characters. Write it like a mini-ad for the page — tell the reader what they’ll get and include your keyphrase naturally. For example: ‘Looking for a trusted physio in Sydney? ABC Physio Clinic offers same-day appointments in the CBD. Book online today.’ Yoast will show you a live preview of how your snippet will look in Google search results as you type. The bar below each field turns green when you’re within the recommended character limit.
Step 7: Check the SEO Analysis and Readability Score
Once you’ve added your focus keyphrase and written your content, Yoast gives you two scores to pay attention to: – SEO Analysis: This checks things like whether your focus keyphrase appears in the page title, meta description, first paragraph, headings, image alt texts, and throughout the body content. It also checks whether you have internal and external links on the page. – Readability Analysis: This checks whether your content is easy to read — things like sentence length, paragraph length, use of transition words, and whether you’re using subheadings to break up long sections. You don’t need to chase a perfect all-green score. Yoast’s own team says you shouldn’t obsess over every orange or red bullet. Focus on the important ones — especially your keyphrase in the title, meta description, and first paragraph. For local business sites, I find that getting the main SEO bullets green is usually enough to make a noticeable difference.
Step 8: Use the Google Preview Before Publishing
Before you hit Publish, always check the Google Preview inside Yoast. This shows you a realistic simulation of how your page listing will appear in Google search results — including the title, URL, and meta description. – In the Yoast SEO panel, click on the Google Preview section. – Toggle between Desktop and Mobile views to see how the snippet looks on both devices. – If the title is getting cut off or the description is too long, edit them directly in the snippet editor until both look clean and complete. This is a small step that takes about 30 seconds and it’s absolutely worth doing every time. What your page looks like in search results directly affects whether someone clicks through to your site or skips past it.
Free vs. Premium Yoast SEO — What Do You Actually Need?
I get this question from clients all the time. Here’s my honest take after building 1800+ websites: For most small and local business websites — salons, clinics, restaurants, gyms, coaches — the free version of Yoast SEO is completely sufficient. The free version gives you: – Focus keyphrase analysis – Meta title and description editor – Google snippet preview – Readability analysis – Schema markup controls – XML sitemap generation – Robots.txt control Yoast SEO Premium adds extras like internal linking suggestions, multiple focus keyphrases per page, redirect manager, and social media preview editing. These are useful features, but you don’t need them on day one. Start with the free version, get comfortable with it, and upgrade if you feel you’re hitting its limits.
Common Mistakes to Avoid
After setting this up for hundreds of local business clients, here are the most common mistakes I see people make: – Leaving the focus keyphrase blank: Without a focus keyphrase, Yoast has nothing to analyse. Always set it. – Writing meta descriptions that are too long: Anything over 155 characters gets cut off in Google. Keep it tight and clear. – Using the same focus keyphrase on multiple pages: Each page should target a unique keyphrase. Using the same one on five different pages causes keyword cannibalization — your pages compete against each other in Google. – Ignoring the readability score completely: Very long paragraphs and no subheadings hurt both readability and SEO. Break up your content. – Forgetting image alt text: Yoast will flag this. Go into each image in Elementor and add a descriptive alt text that includes your focus keyphrase where it makes sense. – Publishing without checking the Google snippet preview: Always do this final check before hitting Publish.
Frequently Asked Questions
Does Yoast SEO work with Elementor?
Yes, Yoast SEO has a full native integration with Elementor. Once both plugins are installed and activated, you can access the entire Yoast SEO panel directly inside the Elementor editor from the left sidebar. No switching between screens is needed.
Where is the Yoast SEO panel in Elementor?
Inside the Elementor editor, click the hamburger menu (three horizontal lines) in the top-left corner of the left panel and select Yoast SEO. Alternatively, click the gear/cog icon at the bottom-left of the editor and look for the Yoast SEO tab in the Page Settings.
Is Yoast SEO free to use with Elementor?
Yes. The free version of Yoast SEO works fully with Elementor and includes all the core features you need — focus keyphrase analysis, meta description editor, readability check, Google preview, and XML sitemap. A premium paid version is available with extra features but is not required.
Does Yoast SEO analyze content built with Elementor widgets?
Yes. The Yoast Elementor integration reads the text content from your Elementor widgets in real time and uses it for SEO and readability analysis. This means you get accurate, live feedback as you build your page, not just a static score.
Do I need to configure Yoast SEO for every page in Elementor?
Yes, ideally. Each page and post should have its own unique focus keyphrase, meta title, and meta description set in Yoast. Global defaults are set in the Yoast SEO dashboard, but the per-page settings inside Elementor are what really move the needle for individual page rankings.
Can Yoast SEO help improve my local business website’s Google ranking?
Yoast SEO is a tool that helps you correctly implement on-page SEO best practices — things like keyword usage, meta data, and content structure. Done consistently across your pages, this absolutely contributes to better search visibility. It works best when combined with quality content and a fast, well-structured website.
Final Thoughts
That’s everything you need to get Yoast SEO working properly inside Elementor. Honestly, this is one of those setups that takes maybe 20 minutes to do right the first time, and then it becomes second nature — you’ll find yourself automatically checking your Yoast score every time you publish a new page or post. If you’re more of a visual learner, make sure you watch the video tutorial I’ve put together — it walks through every single step on screen so you can follow along in real time. If you found this helpful, drop a comment below and let me know. And if you need someone to help you set this up on your specific site, or you’d like me to review your current Yoast SEO settings, feel free to reach out to me directly at paramfreelance.com. I work with local businesses all over the world and I’m happy to help you get your site ranking properly.
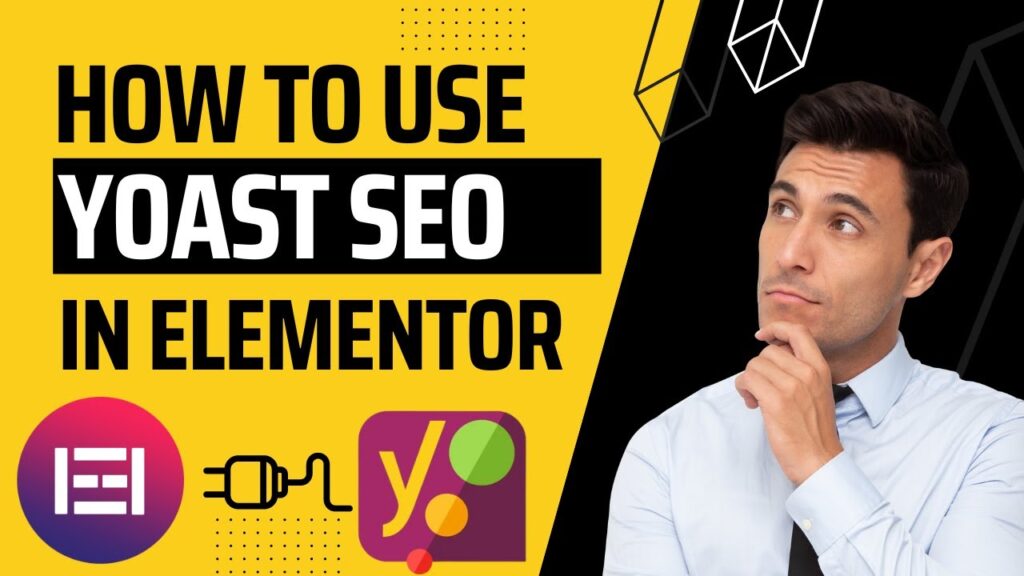
I hope that this article on How to How to use Yoast SEO with Elementor will help you. Read more articles on Elementor Tutorials.
Do not forget to subscribe to our Quick Tips Youtube Channel for upcoming videos on Website Design, WordPress Tutorials, Elementor, and WooCommerce tutorials.