Every local business website needs a way to capture leads without sending visitors away from the page they are already on. That is exactly what an Elementor popup form does — it lets a contact form appear right on top of your page when a visitor clicks a button, scrolls down, or lands on your site. No redirects. No new pages. Just a clean, focused form that shows up at exactly the right moment. The Elementor popup form is a feature built into Elementor Pro, and once you know where all the settings live, it is surprisingly straightforward to set up. In this guide, I am going to walk you through the entire process — from building the popup template, adding your contact form widget, setting your trigger, configuring display conditions, and finally linking it all to a button on your page. By the end, you will have a fully working popup contact form live on your WordPress site.
Watch Video: Elmentor Popup Form
Table of Contents
What Is an Elementor Popup Form and Why Use One?
An Elementor popup form is a contact form that appears inside a popup overlay — a window that slides or fades in on top of your page content. Instead of embedding the form directly on the page, you keep things clean and only show the form when a visitor is ready to engage with it. For local businesses like salons, gyms, restaurants, and clinics, this is a really practical feature. Your homepage or service page can stay focused on your message, and the contact form only appears when someone clicks your ‘Book Now’ or ‘Get a Free Quote’ button. Here are a few reasons why popup forms work so well: – They keep the page layout clean and uncluttered – They capture attention at the right moment — when the visitor has already shown intent by clicking a button – They work as lead magnets when combined with an offer or incentive – They reduce the number of pages a visitor needs to navigate to contact you Just keep in mind: a popup form that is well-timed and relevant feels helpful. One that fires the moment someone lands on your site before they have read anything can feel intrusive. Use the trigger and advanced rules settings (covered below) to get the timing right.
What You Need Before You Start
Before jumping into the steps, make sure you have these things in place: – WordPress installed and running – Elementor free plugin installed and activated – Elementor Pro plugin installed and activated (the popup builder is an Elementor Pro feature — it is not available in the free version) – A page already created where you want to place the button that triggers the popup The Elementor Pro Form widget is what you will use inside the popup. This widget lets you add fields like Name, Email, Phone, and Message, and configure what happens after the form is submitted — including sending you an email notification or opening a thank-you message. If you are not yet using Elementor Pro and you are building a business website, I genuinely recommend it. The popup builder alone is worth it for local business sites. It replaces the need for several separate plugins.
Step 1: Create a New Popup Template in Elementor Pro
The popup is built as a template inside Elementor, separate from your regular pages. Here is how to create one: – From your WordPress admin dashboard, go to Templates > Popups – Click the Add New Popup button – A dialog box will appear — give your popup a name (for example, ‘Contact Form Popup’ or ‘Book Now Popup’) – Click Create Template Elementor will then open its template library. You can either choose one of the pre-designed popup templates and customise it, or click the X button in the upper right corner to close the library and build your popup from scratch. For most local business sites, starting from scratch gives you more control and keeps things simple.
Step 2: Design Your Popup and Add the Form Widget
Once you are inside the Elementor editor for your popup, you are working in a canvas that represents the popup window itself. This is where you design what the visitor will see when the popup opens. Here is a simple structure that works well for a contact popup: – Add a one-column section – Drop in a Heading widget at the top — something like ‘Send Us a Message’ or ‘Book Your Appointment’ – Below the heading, search for the Form widget in the left sidebar and drag it into your section The Form widget comes pre-loaded with three default fields: Name, Email, and Message. You can add, remove, or reorder fields using the Content tab in the left panel. For most local business enquiry forms, Name, Email, Phone, and Message is all you need — keep it short, because shorter forms get more submissions. Under the Actions After Submit section in the Form widget settings, make sure you have Email set up so you actually receive the enquiry. You can also set the popup to close automatically after a successful submission by adding the Close Popup action here.
Step 3: Configure Popup Settings (Size, Position, and Close Button)
While still inside the Elementor popup editor, click the gear icon at the bottom left of the screen. This opens the Popup Settings panel where you control how the popup looks and behaves. The key settings to pay attention to: – Width: Set this to around 500–600px for a contact form. Too wide looks sloppy on desktop and breaks on mobile. – Height: Set to Auto so it adjusts to the form content naturally. – Horizontal and Vertical Position: Centre works best for most contact popups. – Entrance Animation: A subtle Fade In or Zoom In looks professional without being distracting. Skip the fancy slide animations for business sites. – Show Close Button: Leave this on so visitors can dismiss the popup easily. Nothing frustrates users more than a popup they cannot close. – Overlay: Enable this so the background dims when the popup is open. It draws focus to the form. Keep the design clean. Use your brand colours for the form button, keep the background white or very light, and make sure the font is readable at normal size. On a popup, readability beats design every time.
Step 4: Set Display Conditions
This is the step that trips most people up. When you click the Publish button in the Elementor popup editor, a window appears asking you to set Display Conditions. Do not skip this. Display Conditions tell Elementor which pages or parts of your site this popup is allowed to appear on. If you skip this step, the popup will never show — even if your trigger is set up correctly. For a general contact popup, the simplest setting is: – Click Add Condition – Choose Entire Site – Click Save and Close This makes the popup available everywhere on your site, so any page with a button linked to this popup can trigger it. If you want more control — for example, only showing the popup on your Services page or landing page — you can choose Singular > Page and then select the specific page. This is useful for service-specific booking forms.
Step 5: Set the Popup Trigger
Triggers determine what action causes the popup to open. Elementor Pro gives you several trigger options in the Triggers tab of the Publish settings window: – On Page Load: The popup opens automatically as soon as the page loads. Use this carefully — it is the most intrusive option. – On Scroll: The popup fires after a visitor has scrolled a certain percentage down the page. – On Scroll to Element: The popup opens when a visitor scrolls to a specific element on the page. – On Click: The popup opens when a visitor clicks a button, link, or image that you have linked to it. – On Inactivity: Fires after a visitor has been idle for a set number of seconds. – On Exit Intent: Triggers when the visitor moves their cursor toward the browser’s close button (desktop only). For a contact or booking form, the On Click trigger linked to a button is almost always the best choice. It means the popup only shows up when the visitor has intentionally asked for it, which results in a much higher quality lead and a better user experience. For exit-intent popups with a lead magnet or special offer, the On Exit Intent trigger can work well — but keep the offer relevant and the form very short (just an email address).
Step 6: Configure Advanced Rules (Optional but Useful)
The Advanced Rules tab gives you additional control over when the popup shows and to whom. These settings are optional for a basic setup, but they are worth knowing about: – Show Up to X Times: Limits how many times the popup will be shown to the same visitor. Setting this to 1 or 2 prevents you from annoying repeat visitors. – Hide for Logged-In Users: Useful if your popup targets new visitors only. – Show on Devices: You can restrict the popup to desktop only, tablet only, mobile only, or any combination. If your popup form does not render well on mobile at your chosen width, you can disable it for mobile here and link to a regular contact page on small screens instead. – Between Dates: You can set a date range for the popup — great for limited-time offers or seasonal campaigns. For a straightforward contact form popup, you do not need to configure any of these. Once you are happy with the settings, click Save and Close.
Step 7: Link the Popup to a Button on Your Page
Now that your popup template is built and published, you need to connect it to a button on your page. This is the final step. – Open the page where you want the button to trigger the popup in the Elementor editor – Add a Button widget (or click on an existing one) – In the button’s Content settings, find the Link field – Click the Dynamic button (the small icon next to the link field) – Choose Actions > Popup – In the Popup field, select Open Popup – In the popup selector, search for and choose the popup template you just created – Click Update to save your page Now visit your page as a regular visitor and click the button. Your popup should open with the contact form inside it. If it does not open, double-check that you set Display Conditions to include this page or Entire Site. You can link as many buttons as you like to the same popup template — for example, a ‘Book Now’ button in the header, a ‘Get a Quote’ button mid-page, and a ‘Contact Us’ button in the footer can all open the same popup.
Tips for a Better-Converting Popup Form
After building popup forms for hundreds of local business sites across the USA, UK, and Australia, here are the things that actually make a difference: – Keep the form short: Name, Email, and one other field is usually enough. Every extra field you add reduces conversions. – Use a benefit-focused heading: ‘Book Your Free Consultation’ converts better than ‘Contact Us’. – Match your brand: Use the same button colour, font, and logo that appear on the rest of your site. A popup that looks unrelated to the site creates distrust. – Add a privacy note: A one-line note like ‘We respect your privacy. No spam.’ near the submit button genuinely increases form completions. – Test on mobile: Always preview your popup on a mobile device before going live. If it fills the screen and the close button is hard to tap, visitors will just leave. – Do not use auto-open on page load for contact forms: Save the auto-trigger for lead magnets with a clear value offer. A contact form should open on click, not automatically.
Frequently Asked Questions
Is the Elementor popup form free or do I need Pro?
The popup builder in Elementor is a feature of Elementor Pro only — it is not available in the free version. You will also need Elementor Pro to access the Form widget that goes inside the popup. If you are building a professional business website, upgrading to Pro is well worth it as the popup builder alone replaces several separate plugins.
Why is my Elementor popup not showing on the page?
The most common reason is that Display Conditions were not set correctly. When you publish a popup in Elementor, you must set at least one Display Condition — for example, Entire Site — otherwise the popup has no permission to appear anywhere. Go to Templates > Popups, hover over your popup, click Edit, and then click Publish to revisit the conditions.
How do I trigger an Elementor popup when a button is clicked?
Edit the button widget on your page, click the Link field, select the Dynamic option, choose Actions > Popup > Open Popup, and then select your popup template from the dropdown. Make sure the popup’s Display Conditions include the page the button is on.
Can I show the Elementor popup on only one specific page?
Yes. When setting Display Conditions for your popup, instead of selecting Entire Site, choose Singular > Page and then select the specific page you want. This restricts the popup to that page only, which is useful for service-specific forms or landing pages.
How do I stop the Elementor popup from showing to the same visitor multiple times?
In the popup’s Publish settings, go to the Advanced Rules tab and set the Show Up to X Times option to 1 or 2. This uses a cookie to remember whether the visitor has already seen the popup and prevents it from showing again unnecessarily.
Can I add an Elementor popup form to my header or navigation menu?
Yes. If you are using the Elementor Pro Theme Builder to manage your header, you can add a button to your header template and link it to the popup using the same Dynamic Link method. This is a great way to make a ‘Book Now’ or ‘Call Us’ button visible on every page.
Final Thoughts
Thanks so much for reading all the way through — I hope this guide makes the whole Elementor popup form process feel much less overwhelming. Once you have built your first one, you will find it takes less than 10 minutes to set up a second or third popup for different services or campaigns. I have put together a full video tutorial that walks through every single step visually, so if you are more of a watch-and-follow person, make sure to check that out on my YouTube channel. If you have a question about a specific step, drop it in the comments below — I read every one. And if you would rather have someone just set this up on your site for you, feel free to reach out to me directly through paramfreelance.com. I am happy to help.
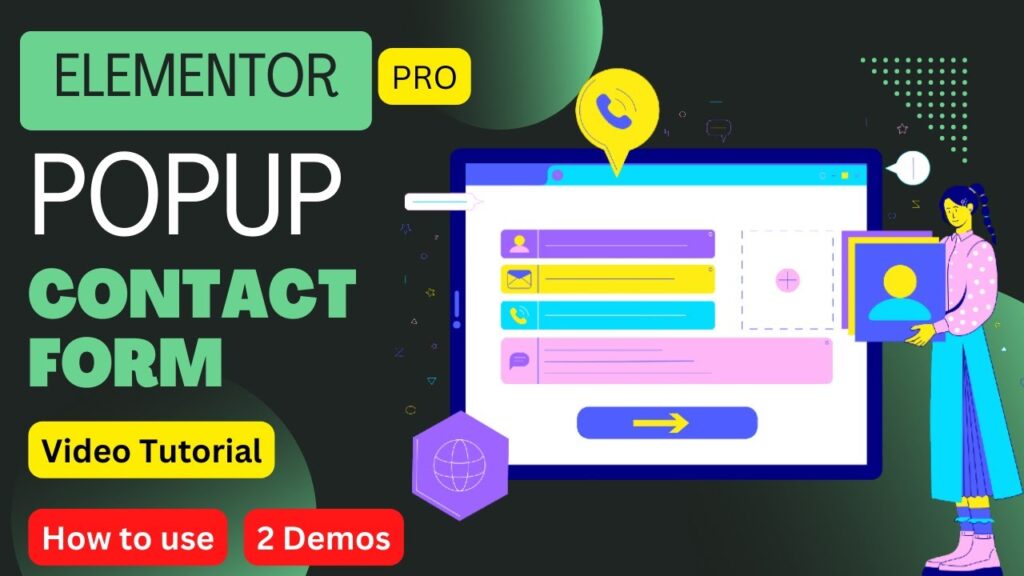
I hope that this article on How to create popup form in elementor will help you. Read more articles on Elementor Tutorials.
Do not forget to subscribe to our Quick Tips Youtube Channel for upcoming videos on Website Design, WordPress Tutorials, Elementor, and WooCommerce tutorials.