Every local business website I build has one thing in common — clients want visitors to trust them fast. And nothing builds instant credibility like showing your numbers: years in business, happy clients, projects completed, five-star reviews. The problem is most business owners either skip this section entirely or just type the numbers as plain text — and plain text does nothing. That is where the Elementor Counter Widget comes in. This free widget lets you display animated, counting numbers that roll up from zero to your target figure the moment a visitor scrolls to that section. It is one of the most effective trust-builders you can add to a homepage or about page, and the best part is you do not need Elementor Pro to use it. The Counter Widget is included in the free version of Elementor. In this step-by-step guide, you will learn exactly how to set it up, customize it, style it, and display multiple counters in a clean row — the way I do it for my clients every single week.
Table of Contents
What Is the Elementor Counter Widget and Why Should You Use It?
The Elementor Counter Widget is a built-in widget that displays animated, counting numbers on your WordPress page. When a visitor scrolls to the section where the widget is placed, the number starts from your chosen starting point and counts up to the final value — all with a smooth rolling animation. This is incredibly useful for any business that wants to build credibility quickly. Think about the kinds of stats a local business might want to show: – Years of experience (e.g., 15+ Years in Business) – Number of clients served (e.g., 500+ Happy Clients) – Projects completed (e.g., 1,800+ Websites Built) – Five-star reviews (e.g., 200+ Five-Star Reviews) – Products sold or appointments booked A static number in plain text is easy to ignore. An animated counter that counts up in front of your eyes is impossible to overlook. It creates a sense of momentum and scale — and for local businesses competing for trust against bigger brands, that impression matters a lot. In my experience building over 1,800 websites for salons, clinics, gyms, coaches, and restaurants, adding a counter section to the homepage almost always increases the time visitors spend on the page. It gives people something to watch and a reason to believe you.
Do You Need Elementor Pro for the Counter Widget?
No — and this is great news. The Counter Widget is included in the free version of Elementor. You do not need to upgrade to Elementor Pro to use it. Just install the free Elementor plugin from the WordPress plugin repository, open any page in the Elementor editor, search for “Counter” in the widget panel, and it will be right there waiting for you. This makes it one of the most accessible and cost-effective widgets in the entire Elementor library. Whether you are just starting out with WordPress or you have been building sites for years, you can use this widget on any site without spending a cent extra. If you do have Elementor Pro, the Counter Widget works the same way — Pro does not add extra options to this specific widget, but it does give you access to the Theme Builder and other premium widgets that can complement your counter section nicely.
How to Add the Counter Widget to Your Page
Adding the Counter Widget is as simple as any other Elementor widget. Here is exactly how to do it: – Open your WordPress dashboard and go to the page where you want to add the counter section. – Click “Edit with Elementor” to launch the Elementor editor. – In the left-hand widget panel, type “Counter” in the search box. – The Counter Widget will appear. Click and drag it onto the section of your page where you want it placed. – Once dropped onto the canvas, the widget will appear with some default placeholder numbers. You can start editing it straight away. That is it. No shortcodes, no extra plugins, no configuration files. The real-time preview in the Elementor editor means you can see exactly how the counter will look and animate before you ever hit publish. I always tell clients to drag it in, play with the numbers, and hit preview — the moment they see those numbers count up live on the page, they get it immediately.
Configuring the Content Tab: Numbers, Prefix, Suffix, and Title
Once the widget is on your canvas, click it to open the settings panel on the left. Head to the Content tab. This is where you control what your counter actually displays. Here is a breakdown of every setting you will find:
Starting Number
This is the number the counter begins counting from when the animation starts. By default it is set to 0, which works perfectly for most cases. However, if you are showing a large number — say, 10,000 customers — you might want to start the animation from 9,000 so it does not take forever to count up. For most local business stats, I recommend leaving this at 0.
Ending Number
This is the final number the counter will display once the animation finishes. Set this to whatever your actual statistic is — 15 for years of experience, 500 for clients served, and so on. This is the number your visitor will see clearly once the animation completes.
Number Prefix
Prefix text appears before the number. A common use case is adding a dollar sign ($) for revenue figures or a currency symbol. For most local business stats, you can leave this blank.
Number Suffix
Suffix text appears after the number. This is one of my favourite settings. Adding a “+” sign after the number (e.g., “500+”) makes the stat feel more impressive and honest — it says “at least this many” rather than an exact figure. You can also add a “%” symbol for percentage-based stats or the word “K” if you are shortening large numbers.
Animation Duration
This is the time in milliseconds that the counting animation takes to run from the starting number to the ending number. The default is usually around 2,000 milliseconds (2 seconds), which feels natural and engaging. I generally leave this at the default unless the ending number is very large — in that case, I speed it up slightly so it does not feel sluggish.
Thousand Separator
If your ending number is 1,000 or more, you can toggle the thousand separator on. You can choose between a comma (1,000), a dot (1.000), or a space (1 000) depending on your audience’s location. For US and Australian clients I use a comma; for some European clients a dot or space may be more appropriate.
Title
This is the label that appears below (or beside) the number — for example, “Happy Clients” or “Years of Experience”. Keep this short and descriptive. The number should be the hero; the title just explains what that number means. You can also choose the HTML tag for the title — for SEO purposes, I recommend using a div or span rather than H1 or H2 inside a widget like this, unless the counter section is the primary content of the page.
Styling Your Counter: Colors, Typography, and Alignment
Once your content settings are in place, click over to the Style tab to control how the counter looks. This is where you make the widget match your client’s brand.
Number Color and Typography
You can set a specific colour for the animated number — this is usually your brand’s primary or accent colour to make it pop. Under Typography, you can control the font family, size, weight, and line height. For most local business sites I set this to a large, bold font size (60px to 80px on desktop) so the numbers are immediately visible without the visitor having to look for them.
Title Color and Typography
The title sits below the number and should be noticeably smaller. I typically style this in a neutral grey or a slightly muted version of the brand colour. A medium font weight works well here — you want it readable but not competing with the big number above it.
Alignment
You can align the counter content to the left, right, or center. There is also a stretch option that affects spacing when you use a prefix or suffix. For most homepage counter sections, center alignment looks the cleanest — especially when you are displaying three or four counters side by side in a row.
Text Stroke and Shadow
Elementor also gives you the option to add a text stroke (outline) or a shadow to both the number and the title text. I rarely use these for local business sites — I always prefer clean and simple over heavy effects. But if your brand calls for a bold, high-impact look, a subtle shadow on the number text can add some depth.
How to Display Multiple Counters Side by Side
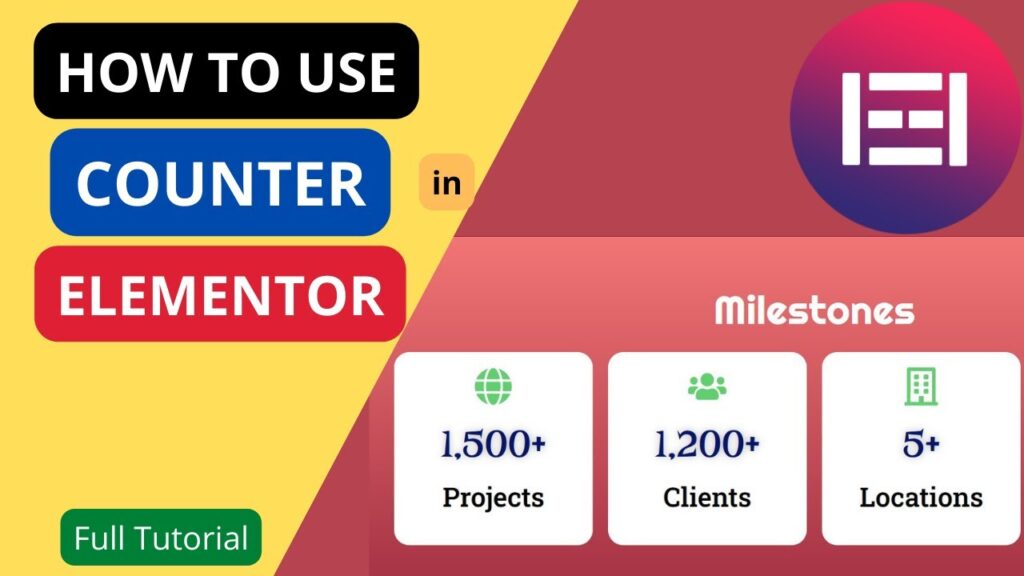
A single counter on its own is fine, but the real power of this widget shows when you group three or four counters together in a row. This is the classic “stats section” you see on almost every professional services website. Here is how I set this up for my clients: – Before adding the Counter Widget, create a section with the right number of columns — for example, a three-column or four-column layout. – Drag a Counter Widget into the first column and configure it fully (number, suffix, title, and style). – Once the first counter looks exactly right, right-click on the widget and select Duplicate. Then drag the duplicate into the next column. – Update the number and title for the second counter, and repeat for any additional columns. – This way all your counters share the same typography and colour settings automatically, keeping everything consistent. For local business sites I almost always recommend keeping it to three or four counters maximum. More than that and the section starts to feel cluttered. Pick your three or four most impressive numbers and let those do the talking. Common combinations for my clients: – Years in Business / Happy Clients / Projects Completed – Appointments Booked / Five-Star Reviews / Cities Served – Products Sold / Active Members / Courses Completed Keep the titles short so the number remains the focal point, and use separators for large values to maintain readability.
Best Practices for Using the Counter Widget on Local Business Sites
After setting up counter sections on hundreds of local business websites, here are the practical tips I always share: – Use real numbers only. Do not exaggerate or round up to figures you cannot back up. Visitors trust specific, honest numbers far more than inflated ones. – Pair with a background colour or image. A counter section with a solid dark background or a subtle pattern stands out from the rest of the page and draws the eye naturally as the visitor scrolls. – Keep animation speed natural. An animation that is too fast feels jarring; one that is too slow loses the visitor’s attention. The default 2-second duration is a good starting point. – Place the section near the top. On homepage designs, I usually put the counter section just below the hero section or below a brief about blurb. That way visitors see the social proof early, before they have a chance to bounce. – Check it on mobile. The Counter Widget is fully responsive, but always preview your counter section on a mobile device inside the Elementor editor. Sometimes you will need to reduce the font size or adjust column layout for smaller screens so it does not look cramped. – Match your brand colours. The number colour in particular should be your primary brand colour or a high-contrast accent. This reinforces brand consistency while making the stat visually memorable.
Frequently Asked Questions
Is the Elementor Counter Widget free?
Yes, the Elementor Counter Widget is included in the free version of the Elementor plugin — you do not need Elementor Pro to use it. Simply install the free Elementor plugin, open any page in the editor, and search for the Counter Widget in the widget panel.
How do I add a plus sign after the number in Elementor Counter Widget?
In the Content tab of the Counter Widget, find the Number Suffix field and type a “+” sign. This will appear immediately after the animated number, giving you a display like “500+” or “1,800+”. You can also add other text like “%” or “K” in the same field.
Can I add multiple counter widgets on the same page?
Absolutely. You can add as many Counter Widgets as you like on a single page by simply dragging and dropping each one onto your layout. The most common approach is to place three or four counters side by side in a multi-column section to create a professional stats row.
Is the Elementor Counter Widget mobile responsive?
Yes, the Counter Widget is fully responsive and will display correctly on desktop, tablet, and mobile screens. It is still a good idea to preview your counter section on mobile inside the Elementor editor and adjust font sizes or spacing if needed for smaller screens.
How do I control how fast the number counts up in Elementor?
In the Content tab of the Counter Widget, there is an Animation Duration field measured in milliseconds. The default is typically around 2,000 ms (2 seconds). Increase the number to slow the animation down, or decrease it to make the counter count up faster.
Can I use a comma or dot as a thousands separator in the Elementor Counter Widget?
Yes. In the Content tab, toggle the Thousand Separator option on. You can then choose between a comma, a dot, or a space as the separator character — useful for formatting numbers like 1,000 or 10,000 correctly for your target audience’s region.
What kind of numbers should I display using the Elementor Counter Widget?
The Counter Widget works great for any statistic that builds trust or demonstrates scale — years in business, number of clients served, projects completed, five-star reviews, products sold, or appointments booked. Choose numbers that are real, specific, and directly relevant to what your visitors care about.
Final Thoughts
Thanks so much for reading through this guide — I hope it makes setting up your counter section feel simple and straightforward. If you are a visual learner, make sure to watch my YouTube video tutorial on the Elementor Counter Widget where I walk through the entire setup step by step on a live site. It really helps to see the animation in action before you configure your own. If you have any questions, run into any issues, or just want to share how your counter section turned out, drop a comment below — I read every single one. And if you would like me to help you set this up directly on your WordPress site, feel free to get in touch with me through paramfreelance.com. I am always happy to help.
I hope that this article on How to use Elementor Counter Widget will help you. Read more articles on Elementor Tutorials.
Do not forget to subscribe to our Quick Tips Youtube Channel for upcoming videos on Website Design, WordPress Tutorials, Elementor, and WooCommerce tutorials.