💬 Prashant’s Note
When I set this up for a client running a small online clothing boutique, the difference was immediate. Their default WooCommerce product page looked just like thousands of other stores, and after we rebuilt it with Elementor Pro, their Add to Cart rate went up noticeably within the first month. In my experience building 1800+ websites, a clean, custom product page is one of the highest-return changes you can make for any WooCommerce store owner.
Table of Contents
Why You Should Customize Your WooCommerce Single Product Page
The default WooCommerce product page does the basics. It shows a product image, a title, a price, and an Add to Cart button. But it is a one-size-fits-all template that looks nearly identical across thousands of online stores.
Customizing your single product page gives you a real competitive edge. Here is why it matters:
- Stand out from competitors: A unique, branded product page gives shoppers a reason to trust your store over a generic-looking one.
- Improve conversions: When customers can quickly find the information they need, such as sizing, materials, shipping info, and social proof, they are far more likely to buy.
- Strengthen your brand: A polished, consistent product page builds credibility and makes your business look professional.
- Full flexibility: With Elementor Pro you can rearrange any element, adjust typography, change colours, and add custom sections that the default WooCommerce template simply does not allow.
What You Need Before You Start
Before diving into the steps, make sure you have the following in place:
- WordPress installed and running on your hosting
- WooCommerce plugin installed and activated with at least a few products set up
- Elementor Pro plugin installed and activated with a valid licence
Elementor Pro is required here because the WooCommerce Theme Builder is a Pro-only feature. The free version of Elementor does not give you access to single product page templates. If you do not have Elementor Pro yet, head to the Elementor website and grab a licence before following the steps below.
Also make sure your WooCommerce version is 3.4 or higher and that you are running Elementor Pro 2.1 or above, as these are the minimum versions required for the WooCommerce Builder to work properly.
Step-by-Step: How to Customize WooCommerce Single Product Page with Elementor
Follow these steps carefully and you will have a fully custom product page live on your store.
Step 1: Install and Activate Elementor Pro
If you have not already done this, download Elementor Pro from the Elementor website after purchasing your licence. Go to your WordPress dashboard, navigate to Plugins, click Add New, and upload the plugin zip file. Activate it and enter your licence key when prompted.
Once Elementor Pro is active, you will see the full Theme Builder option appear in your Elementor menu inside the WordPress dashboard.
Step 2: Open the Elementor Theme Builder
In your WordPress dashboard, go to Elementor and then click on Theme Builder. This is the central hub for all your custom templates, including headers, footers, single posts, and of course, WooCommerce product pages.
You will see a list of template types. Look for Single Product in the WooCommerce section.
Step 3: Create a New Single Product Template
Click Add New in the top right corner. From the dropdown menu, choose Single Product as your template type. Give your template a descriptive name, something like Custom Product Page Template, and click Create Template.
Elementor will open the template library where you can choose from a range of pre-designed single product layouts. If you want a head start, pick one that is closest to the look you are after and click Insert. Alternatively, click the X to close the library and start from a blank canvas if you prefer to build it from scratch.
Step 4: Design Your Template in the Elementor Editor
Now you are inside the Elementor editor with a canvas that represents your product page. On the left panel, scroll down and you will find a dedicated group of WooCommerce product widgets. These are dynamic widgets that automatically pull in the real product data when the template is displayed on the front end.
You can drag and drop any of these widgets onto your canvas and arrange them however you like. Add sections, adjust column layouts, style your typography, and change background colours to match your brand. The entire design process is visual and requires no coding whatsoever.
A few things worth doing at this stage:
- Use the preview settings at the bottom left of the editor to select a real product from your store. This lets you see how the template will look with actual product data.
- Test your layout in mobile and tablet views using the Responsive Mode button at the bottom of the editor. Make sure everything looks clean on smaller screens.
Step 5: Publish and Set Display Conditions
Once you are happy with the design, click the green Publish button at the bottom left of the editor. Elementor will immediately prompt you to set display conditions.
Display conditions tell Elementor which products this template should apply to. You have a few options:
- All Products: applies the template to every single product page on your store
- Specific Category: applies it only to products in a particular category
- Specific Product: applies it to one individual product
For most stores, setting it to All Products is the right choice. Once you click Save and Close, your custom product page is live.
Key Elementor Widgets for Your WooCommerce Product Page
Elementor Pro comes with a full set of WooCommerce-specific widgets that make it easy to build out a complete, functional product page. Here are the most important ones you should know about:
- Product Title: Displays the product name dynamically from WooCommerce
- Product Images: Shows the product gallery with zoom and thumbnail support
- Product Price: Outputs the price, including sale price formatting
- Add to Cart: The buy button, fully styleable including colour, size, and text
- Product Description: Pulls in the long description from the product editor
- Product Short Description: Great for placing a key summary near the top of the page
- Product Rating: Shows the star rating and review count
- Product Data Tabs: Displays the Description, Additional Information, and Reviews tabs
- Product Related: Shows related products based on shared tags and categories
- Product Meta: Displays SKU, categories, and tags
- Product Stock: Lets customers know how many units are left
You can place any of these widgets anywhere on your page layout, which is what makes Elementor Pro so powerful for WooCommerce customisation.
How to Set Display Conditions for Your Template
Display conditions are one of the most useful features in the Elementor Theme Builder, and they are worth understanding properly.
When you publish your single product template, Elementor asks you where it should be displayed. You reach this screen by clicking Publish in the editor and then Add Condition.
The most common setups are:
- Include All Products: your template replaces the default WooCommerce layout for every product on your site
- Include Products in Category: useful if you sell different product types and want unique templates per category, for example one template for clothing and a different one for accessories
- Include a Specific Product: handy for a featured or high-value product that needs its own unique layout
You can stack multiple conditions and also use Exclude rules to prevent the template from applying to certain products. Once you set your conditions and click Save and Close, the template is live and active.
Tips to Make Your Product Page Convert Better
Building a custom product page is step one. Making it actually convert visitors into buyers requires a bit more thought. Here are some practical tips I use when setting up product pages for my clients:
- Place the Add to Cart button above the fold: Shoppers should not have to scroll to find the buy button. Keep it visible alongside the product image and price.
- Use a short description near the top: A two or three sentence summary of the key benefits helps buyers make quick decisions. Place the full description in the tabs below.
- Show star ratings prominently: Social proof is one of the strongest conversion drivers. Put the Product Rating widget directly under the product title.
- Optimise your product images: Large, high-quality images matter enormously. Use an image compression plugin to keep file sizes small without losing quality, so your page loads fast.
- Check mobile layout carefully: A large portion of online shoppers are on mobile. Switch to mobile view in Elementor and make sure nothing looks broken or cramped.
- Add a related products section at the bottom: This keeps shoppers on your site and increases average order value by surfacing other products they might want.
Frequently Asked Questions
Do I need Elementor Pro to customize the WooCommerce single product page?
Yes, you need Elementor Pro to access the WooCommerce Theme Builder, which is the feature that lets you create and assign custom single product page templates. The free version of Elementor does not include this capability. You will also need WooCommerce 3.4 or higher installed on your site.
Will my custom Elementor product template apply to all products automatically?
It depends on the display conditions you set when you publish the template. If you choose All Products as the condition, yes, it will apply to every product page on your store. You can also limit it to specific categories or individual products if needed.
Can I have different product page templates for different product categories?
Absolutely. You can create multiple single product templates in Elementor and assign each one to a different product category using display conditions. This is useful if you sell products that need very different page layouts, such as physical goods versus digital downloads.
What happens to my custom product template when I update WooCommerce?
Because Elementor Pro templates are stored separately from WooCommerce core template files, updating the WooCommerce plugin will not overwrite or break your custom design. This is one of the key advantages of using a page builder like Elementor Pro instead of editing WooCommerce PHP template files directly.
Can I preview my product page template with a real product before publishing?
Yes. Inside the Elementor editor, click the eye icon in the bottom left panel, then go to Settings and choose Preview Settings. From there you can select any product from your store and Elementor will render the template with that product’s real data so you can see exactly how it will look.
Is the WooCommerce single product page template mobile responsive?
Elementor Pro templates are responsive by default, but you should always check and adjust the mobile layout manually. Use the Responsive Mode button at the bottom of the Elementor editor to switch between desktop, tablet, and mobile views and fine-tune spacing, font sizes, and column stacking for each breakpoint.
Final Thoughts
That covers everything you need to customize your WooCommerce single product page template with Elementor Pro. It is genuinely one of my favourite things to set up for clients because the difference before and after is so visible, and it does not take long once you know the steps. I have put together a full video tutorial walking through this process on my Quick Tips YouTube channel, so if you are more of a visual learner, go watch that alongside this article. If you have any questions about setting up your product page, drop a comment below and I will do my best to help. And if you would rather have someone just do it for you, feel free to reach out through paramfreelance.com. Happy building!
You may also like to read the following articles or watch video tutorials:
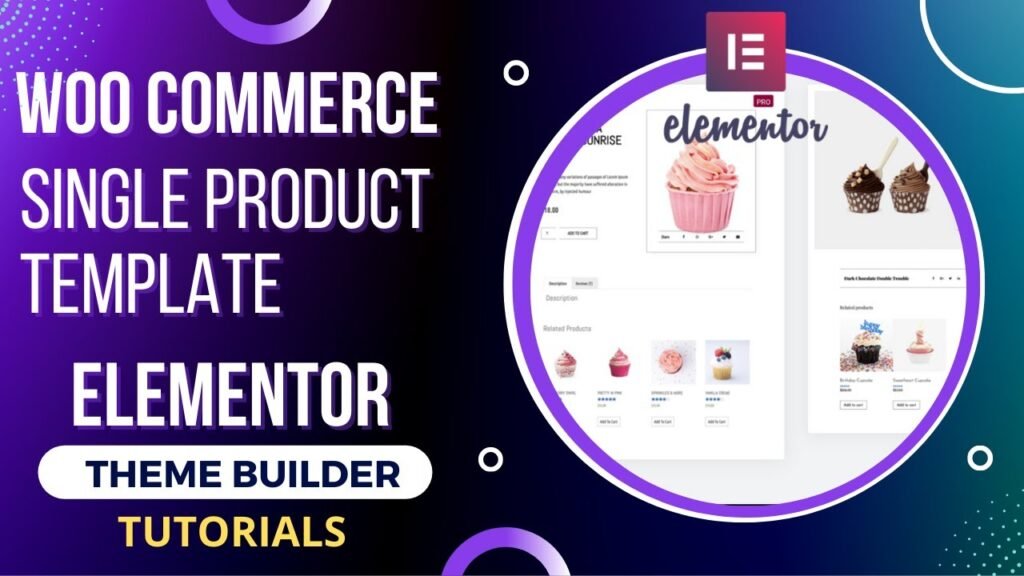
I hope that you will like this article and video about How to Customize WooCommerce Single Product Page Template with Elementor theme builder. I will be adding more articles and videos on Elementor Tutorials. So do not forget to subscribe to our Quick Tips Youtube Channel for upcoming videos on Filmora video editing, Website Design, WordPress Tutorials, Elementor, and WooCommerce tutorials.