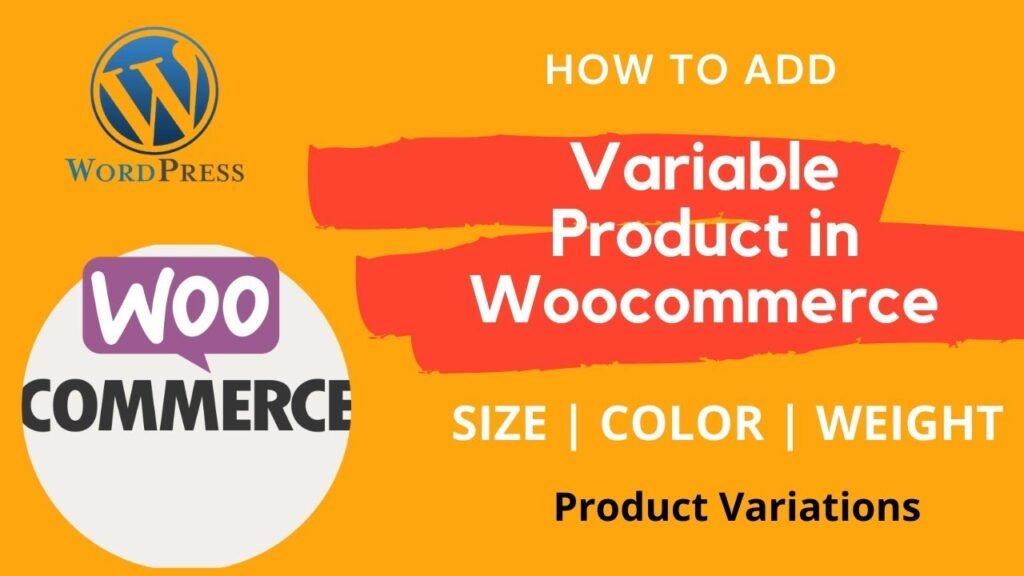
We will learn how to add variable product in WooCommerce website in this article. It’s simple to create variable products in WooCommerce. You must be familiar with the fundamentals of attributions and variants. After you know how to make attributes and variants, adding variable products to a WooCommerce website won’t be difficult.
One of the best free WordPress plugins for e-commerce website creation is WooCommerce. You may add a wide variety of products to your online store with the WooCommerce plugin. For instance, simple products, variable products, products that can be downloaded, service products, products that can be booked, digital products, and more.
What does WooCommerce’s variable product mean?
Let’s use a simple shirt as an example, which you want to offer on your website. The size and color options for this shirt are varied. You don’t need to make a separate product for each color if you want to display all the sizes and color options available for this shirt. Any of these color and size variations can be displayed on a single product page. Therefore the customer can choose the desired color and size.
On my YouTube channel, I have a full video published.
For a better understanding of the features and variations concept of a variable product, you can watch this video.
Watch Video: How to add variable product in WooCommerce website.
You can also watch this video about WooCommerce variable product on my YouTube channel. You will also find many more WooCommerce Tutorial videos on our YouTube channel.
Steps to add WooCommerce variable product:
- Login to Dashboard of WordPress website.
- In the left side panel, you will see Products. Click on Add New product.
- Start creating new product. Add title, description, short description and category of the product.
- Upload the product image and gallery images of the product if required.
- For product data – Select Variable product.
- Click on Attributes. Click on Add Custom attribute.
- Enter the name of the Attribute such as Color, Size. Then add variable for the attributes. For example, Small, medium, Large for size attribute. Separate them by | vertical bar sign.
- Check the box “use this for variations”. Save the Attributes.
- Once you add Attributes, go to Variations.
- Select “Create variations from all attributes” and click Go.
- It will now all variations according to the attributes.
- You can now change the settings of each variation such as price, image.
- Publish the product.
I hope this article will help you understand WooCommerce variable product. In the upcoming article, I will show you how to add virtual product in WooCommerce website.
You may also like to read the following articles or watch video tutorials:
More articles on WooCommerce Tutorials:
In the upcoming WooCommerce Tutorial article and videos, I will show you how to add different types of products in WooCommerce such as digital product, service product, variable product, Booking and accommodations products.
So do not forget to subscribe to our Quick Tips Youtube Channel for upcoming videos on Filmora video editing, Website Design, WordPress Tutorial, Elementor, WooCommerce tutorials.