Want to transform your basic WooCommerce store into a high-converting, visually stunning shop—without coding? The ShopEngine plugin lets you fully customize product pages, carts, checkout, and more using Elementor’s drag-and-drop builder—for FREE!
What you’ll learn:
✅ Why Customize WooCommerce?
✅ ShopEngine Free vs. Pro Features
✅ Step-by-Step Tutorial (Video Walkthrough)
✅ How to Design Product Pages, Checkout & More
✅ SEO Benefits of WooCommerce Customization
🔗 Download Free Version: https://wordpress.org/plugins/shopengine/
🔗 Get Pro Version: https://wpmet.com/plugin/shopengine/
🎥 Watch Video Tutorial: Free WooCommerce Customization Plugin
Why Customize WooCommerce? 7 Key Benefits
1. Stand Out from Competitors
Generic WooCommerce stores look identical—custom designs make yours unique.
2. Boost Conversions
Optimize product pages, checkout flow, and CTAs for higher sales.
3. Improve User Experience (UX)
Mobile-friendly layouts, faster navigation, and intuitive interfaces.
4. Increase Trust & Credibility
Professional designs = more customer confidence.
5. Better SEO Performance
Customizable schema markup, faster load times, and engaging layouts help rankings.
6. Upsell & Cross-Sell Opportunities
Show related products, bundles, or discounts strategically.
7. No Coding Needed
Drag-and-drop builders like ShopEngine make customization easy.
ShopEngine Free vs. Pro: Key Differences
| Feature | Free Version | Pro Version |
|---|---|---|
| Product Page Builder | ✅ Yes | ✅ Advanced |
| Checkout Customization | ❌ No | ✅ Yes |
| Cart Page Builder | ❌ No | ✅ Yes |
| Wishlist Functionality | ❌ No | ✅ Yes |
| Quick View Popup | ❌ No | ✅ Yes |
| Pre-made Templates | 5+ | 50+ |
| Advanced Widgets | Basic | 30+ (e.g., compare, size charts) |
💡 When to Upgrade? If you need checkout/cart customization, wishlists, or premium widgets, go Pro.
How to Use ShopEngine (Free) – Step-by-Step
Step 1: Install ShopEngine
Go to WordPress → Plugins → Add New.
Search for “ShopEngine” → Install & Activate.
Step 2: Design Product Pages
Open Elementor → Templates → Theme Builder.
Click “Add New” → Single Product.
Use ShopEngine widgets (e.g., add-to-cart, gallery, tabs).
Step 3: Customize Shop & Archive Pages
Create a “Product Archive” template.
Drag widgets like “Product Grid”, “Filters”, and “Sorting”.
Step 4: Publish & Test
Assign templates to all products or specific categories.
ShopEngine Pro: Advanced Customization
1. Checkout Page Builder
Remove unwanted fields, add trust badges, or customize layouts.
2. Cart Page Designer
Insert cross-sells, coupon fields, or urgency timers.
3. Wishlist & Quick View
Let users save favorites or preview products without leaving the page.
4. Premium Widgets
Product Comparison, Size Charts, Delivery Time, etc.
SEO Benefits of WooCommerce Customization
1. Faster Load Times
Optimized templates improve Core Web Vitals.
2. Lower Bounce Rates
Engaging designs keep visitors longer.
3. Keyword-Rich Product Layouts
Add FAQ schemas, reviews, and detailed descriptions.
4. Mobile-Friendly = Higher Rankings
ShopEngine’s responsive designs pass Google’s mobile test.
Frequently Asked Questions (FAQs)
Q1. Is ShopEngine free?
✅ Yes! The free version covers product/archive page design.
Q2. Does it work with any theme?
🎨 Yes, compatible with all WordPress themes.
Q3. Can I customize the checkout page for free?
⚠️ No, checkout builder requires ShopEngine Pro.
Q4. How to add a wishlist?
💎 Pro feature—install the ShopEngine Pro plugin.
Q5. Will this slow down my site?
⚡ No, it’s optimized for speed.
ShopEngine is the best free WooCommerce customization plugin for:
✔ Designing product pages without coding
✔ Improving conversions & UX
✔ Standing out from competitors
🚀 Get Started Now:
📢 Questions? Ask below!
Pro Tip
Combine with Elementor Pro for full design flexibility!
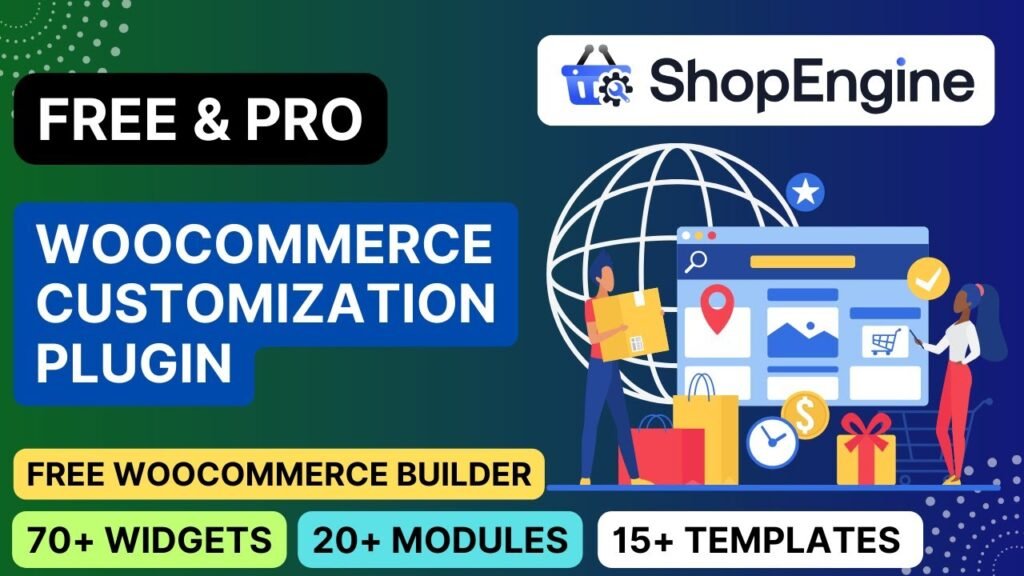
I hope that this article on ShopEngine – Free WooCommerce Customization Plugin. Read more articles on WooCommerce Tutorials
Do not forget to subscribe to our Quick Tips YouTube Channel for upcoming videos on Website Design, WordPress Tutorials, Elementor, and WooCommerce tutorials


