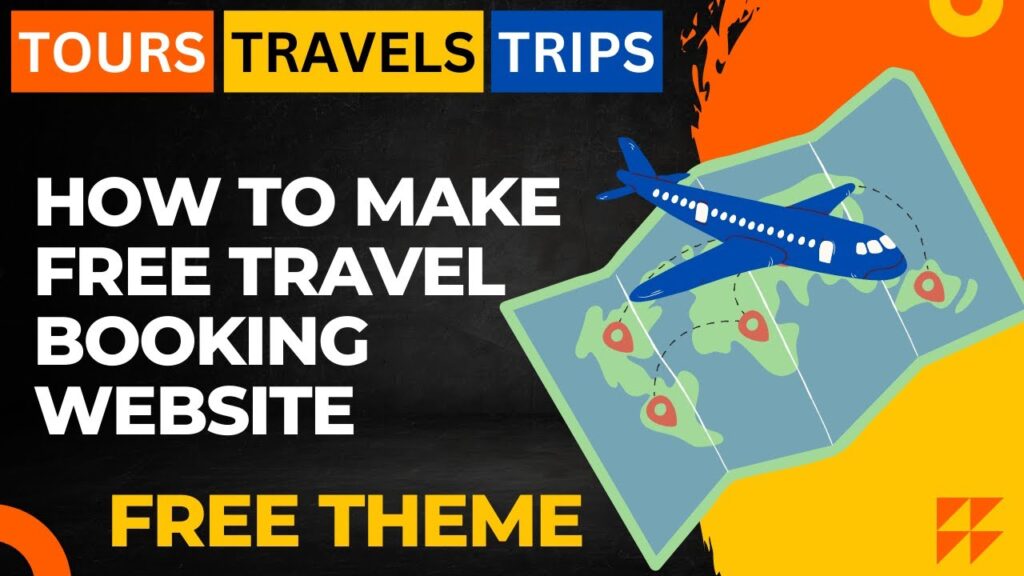
Want to build a professional travel booking website without spending a fortune on themes or plugins? You are not alone. Travel agents, tour operators, and adventure businesses all over the world are looking for exactly the same thing. The great news is that WordPress makes it possible to launch a fully functional travel booking site completely for free. In this guide, you will learn how to do it step by step using a free theme called Travel Monster and the WP Travel Engine plugin. The whole process involves installing a free travel booking website WordPress setup, importing a ready-made demo with one click, and then customising it to match your brand. No coding skills are needed. Whether you run a small tour company, a local adventure business, or you are just starting out, this tutorial will walk you through everything from picking your hosting to publishing your first trip package online.
I have published a detailed video on how to design a Free Travels Booking website on my YouTube channel. Watch this video for a better understanding.
💬 Prashant’s Note:
When I set this up for a client who runs a small tours and treks business, they were genuinely shocked at how polished the final site looked using only free tools. In my experience with local business sites, the Travel Monster theme is one of the cleanest free options out there for travel agencies because it comes with WP Travel Engine baked right in. I always tell my clients: start with the free version, get your site live, and only upgrade to Pro if you genuinely outgrow what the free theme gives you.
Watch Step By Step video tutorial
Table of Contents
What is the Travel Monster Theme and Why Use It
Travel Monster is a free WordPress theme built specifically for travel agencies and tour operators. It is powered by the WP Travel Engine plugin, which handles all the booking, itinerary, and payment functionality you need to run a proper travel business online.
The theme is mobile-friendly, SEO-optimised, and compatible with both Elementor and Gutenberg, so you have full flexibility in how you design your pages. It is also compatible with WPML and Polylang if you ever want to run a multi-language site.
With the free version alone you can build a complete, professional-looking travel booking website. You can add trip packages, create destination pages, set prices, build itineraries, and let visitors book directly on your site. The Pro version unlocks additional layout options and advanced customisation, but for most small travel businesses starting out, the free version is more than enough.
What You Need Before You Start
Before you dive in, make sure you have these basics sorted:
- A domain name: This is your website address. Keep it short, easy to remember, and relevant to your travel brand.
- Web hosting: You need a hosting provider to store your website files. Shared hosting from providers like SiteGround, Hostinger, or Bluehost is fine for a new travel site.
- WordPress installed: Most hosting providers offer a one-click WordPress installation through their dashboard. If you are not sure how to do this, I have a separate tutorial on installing WordPress that you can check out.
Once your WordPress dashboard is up and running, you are ready to go.
Step-by-Step: How to Install the Travel Monster Theme
Installing the Travel Monster theme is quick and straightforward. Just follow these steps:
- Log in to your WordPress dashboard.
- Go to Appearance and click on Themes.
- Click the Add New button at the top of the page.
- In the search box, type Travel Monster.
- When the theme appears, click Install and then click Activate.
Once the theme is activated, WordPress will prompt you to install the required plugins. The key plugin you need is WP Travel Engine, which is the engine that powers all the booking functionality. The Travel Monster theme will guide you through installing all recommended plugins automatically, so just follow the on-screen prompts.
After activating the theme and its required plugins, your site will already start to look like a proper travel website.
How to Import the Demo Content with One Click
This is honestly one of my favourite things about the Travel Monster theme. Instead of building every page from scratch, you can import a full demo website with a single click.
Here is how to do it:
- After activating the theme, look for the starter site import option in your dashboard. You will usually find it under Appearance or under the Travel Monster settings panel.
- Browse the available demo templates and choose the one that fits your travel niche.
- Click Import and wait for the process to complete. It will automatically create all the pages, trips, destinations, and posts for you.
Once the import is done, you will have a fully populated website with sample trips, a home page, an about page, a contact page, and a booking page already in place. From here, you just need to swap out the placeholder content with your own trips, photos, and business information.
No need to build pages manually. The demo content is your starting point and you edit it to make it yours.
How to Add and Edit Trip Packages
Trips are the heart of your travel booking website. With the WP Travel Engine plugin, adding a new trip is very simple.
- In your WordPress dashboard, go to WP Travel Engine and click Add New Trip.
- Give your trip a name, write a description, and add photos to the gallery.
- Set the trip price, duration, difficulty level, and any included or excluded items.
- Build the itinerary day by day using the itinerary builder.
- Set the trip departure dates and the maximum group size.
- Publish the trip when you are happy with it.
Visitors to your site can then search for trips, view the details, and book directly through the booking form. You can accept payment via PayPal or bank deposit in the free version of WP Travel Engine.
Editing trips that were imported from the demo is just as simple. Open any existing trip, update the content to reflect your real offering, replace the placeholder photos with your own, and save. That is all there is to it.
How to Customise Your Header, Footer, and Pages
Once your demo content is imported, the next step is to make the site look like your brand. The Travel Monster theme makes this easy through the WordPress Customiser.
To access the Customiser, go to Appearance and click Customise. From here you can:
- Upload your own logo
- Change the site colours to match your brand
- Update your contact details and phone number in the header
- Add your social media links
- Edit the footer content and copyright text
- Adjust fonts and typography
For editing individual pages, the Travel Monster theme works with Elementor page builder. Just open any page, click Edit with Elementor, and you can drag and drop elements around, change text, swap images, and rearrange sections visually without touching any code.
I have found Elementor to be the most intuitive way to customise pages for clients, especially for business owners who want to make updates themselves after the site is handed over.
Essential Plugins for Your Travel Booking Website
The Travel Monster theme installs the most critical plugins automatically, but there are a few additional ones worth adding to round out your site:
- WP Travel Engine: The core booking plugin. Handles trips, itineraries, pricing, and payments. Already included with the theme.
- Yoast SEO or Rank Math: Helps you optimise each trip page and blog post so they rank better in Google search results.
- WPForms or Contact Form 7: Lets visitors send you enquiries directly from your site. Useful for custom trip requests.
- Jetpack: Adds site statistics, security scanning, and performance features.
- A caching plugin such as WP Super Cache or LiteSpeed Cache: Speeds up your site by caching pages, which improves both user experience and SEO.
Do not go overboard with plugins. Keep it lean. Install only what you genuinely need because too many plugins can slow your site down.
Free vs Pro: What Is the Difference
A common question I get is whether you really need to upgrade to Travel Monster Pro or WP Travel Engine Pro. Here is an honest breakdown.
The free version gives you:
- Full travel booking functionality with WP Travel Engine
- Multiple starter site templates to import
- Elementor and Gutenberg compatibility
- Mobile-friendly and SEO-optimised design
- PayPal and bank deposit payment options
- Unlimited trips, destinations, and itineraries
The Pro version adds:
- Advanced header and footer builder
- More customisation control over layout and typography
- Lazy loading of images for faster performance
- Ability to disable unwanted CSS and JS files for better speed
- More payment gateway options
- Priority support
My honest take: if you are just launching your travel business online for the first time, start with the free version. Get your site live, start getting bookings, and then invest in Pro once you have revenue coming in. The free version is genuinely powerful enough to run a real travel business.
Tips to Get More Bookings from Your Website
Building the site is just step one. Here are some practical things I recommend to help your travel booking website actually convert visitors into paying customers:
- Use real photos: Nothing sells a trip better than stunning, authentic photos. Avoid generic stock images wherever possible.
- Write detailed trip descriptions: Tell visitors exactly what to expect. Cover the itinerary, what is included, what to bring, and what the experience feels like.
- Add customer reviews: Social proof builds trust. Use a testimonials plugin or encourage past clients to leave Google reviews you can showcase.
- Make the booking process obvious: Your Book Now button should be easy to find on every trip page. Do not make visitors hunt for it.
- Start a travel blog: Writing posts about destinations, travel tips, and local attractions helps your site rank in Google and keeps visitors engaged.
- Promote on social media: Share your trips, behind-the-scenes content, and customer photos on Instagram and Facebook to drive traffic back to your site.
- Use email marketing: Collect email addresses from enquiries and bookings, then send out newsletters with upcoming trips and special offers.
Frequently Asked Questions
Can I create a travel booking website in WordPress for free?
Yes, you absolutely can. Using the free Travel Monster theme and the free WP Travel Engine plugin, you can build a fully functional travel booking website without spending anything on themes or plugins. You will still need to pay for hosting and a domain name, but those costs are minimal.
Do I need coding skills to build a travel booking website in WordPress?
No coding skills are required at all. The Travel Monster theme works with Elementor page builder, which lets you design and customise your pages using a simple drag-and-drop interface. The WP Travel Engine plugin also handles all the booking logic without any code.
What is the Travel Monster theme used for?
Travel Monster is a free WordPress theme designed specifically for travel agencies and tour operators. It is powered by the WP Travel Engine plugin and lets you create trip pages, itineraries, destination guides, and online booking forms for your travel business.
Can I import a demo site with the Travel Monster theme?
Yes, one of the best features of Travel Monster is its one-click demo import. You can choose from several pre-built starter site templates and import a complete website with pages, trips, and content already in place. You then customise it with your own information and photos.
What payment options does WP Travel Engine support for free?
The free version of WP Travel Engine supports PayPal Standard and bank deposit as payment methods. If you need additional payment gateways such as Stripe or Authorize.net, those are available through the Pro version of the plugin.
Is the Travel Monster theme good for SEO?
Yes, Travel Monster is built with SEO in mind. It produces clean, lightweight code, is mobile-friendly, and is optimised for Core Web Vitals. Pairing it with an SEO plugin like Yoast SEO or Rank Math will help your trip pages rank well in search engines.
How do I promote my travel booking website after it is live?
A combination of SEO, social media marketing, and email marketing works well. Write blog posts about your destinations to attract organic search traffic, share your trips on Instagram and Facebook, and build an email list from your bookings and enquiries to keep past and potential customers engaged.
Final Thoughts
Thanks so much for reading this far. Building a free travel booking website in WordPress is genuinely achievable for anyone, even if you have never built a website before. The Travel Monster theme takes most of the heavy lifting off your plate with its one-click demo import, and WP Travel Engine gives you everything you need to manage trips and take bookings right from day one. I have a full video tutorial on my YouTube channel that walks through this entire process on screen, so if you prefer to watch and follow along, make sure you check that out above. If you have any questions, please drop them in the comments below. I read every single one and try to reply as quickly as I can. And if you would like me to help you set up your travel booking website personally, feel free to reach out. I am always happy to help.
You may also like to read the following articles or watch video tutorials:
I believe that you will like this article on How to Make a FREE Travel Booking Website in WordPress.
We are publishing articles and Videos about WordPress Tutorials, themes, plugins, theme builders, and more. So do not forget to subscribe to our Quick Tips Youtube Channel for upcoming videos on Filmora video editing, Website Design, WordPress tutorials, Elementor, and WooCommerce tutorials.